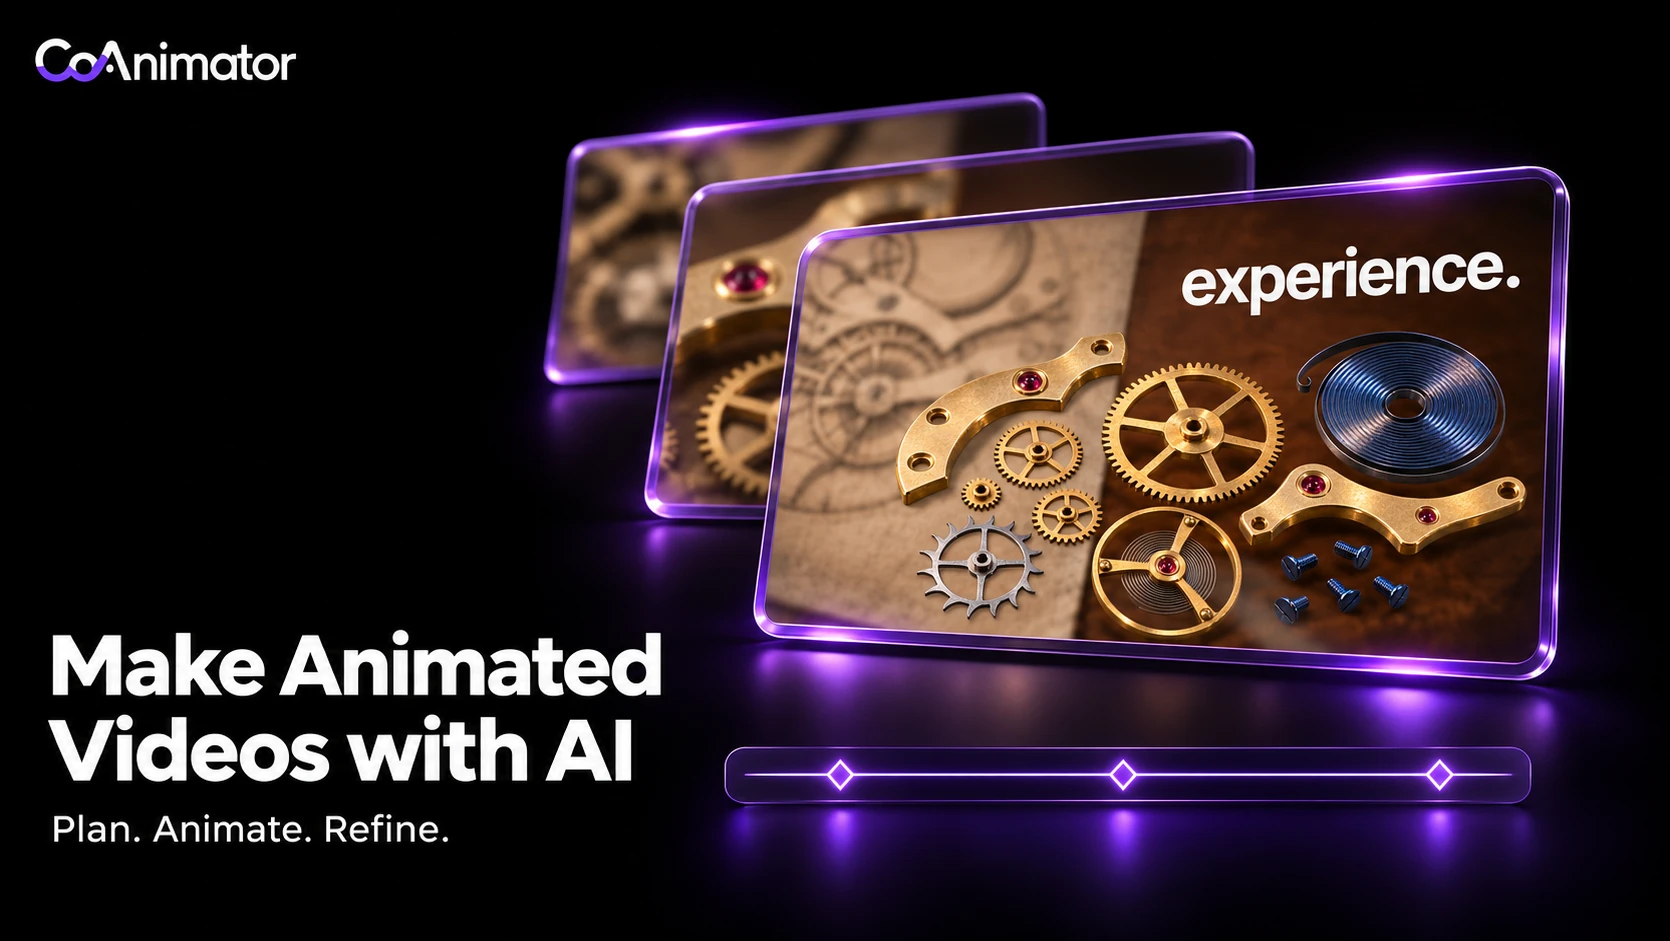
To make an animated video with AI, give the agent a specific message, the source material and a scene plan. Review the compositions before adding motion, then refine timing and sound before exporting. You can direct those changes in plain language while keeping the animation, images and audio available for later edits.
This tutorial follows a 29-second CoAnimator project that combines podcast footage, kinetic typography and layered photographic images. You can watch the finished edit, open its source project and use the prompts below to practise changing a scene. The steps also apply to an animation built from text and images without recorded footage.
Watch the finished example
Peter Singer compares AI to an intern who knows a lot but lacks experience. The edit emphasises selected phrases, cuts to watchmaking images and returns to the real speakers. Large type, separate image layers and a few sound cues are added around the original voice.
Watch the MP4 directly · Download the source project (.zip, 66 MB).
In CoAnimator, choose Import → Shared ZIP to open the download. It contains one Main timeline, the animation, trimmed footage, image layers, font and audio. Keep a copy of the original before trying the revision prompts.
Footage: Aaron Lebsack / NIWC Pacific, Next Level Podcast, Episode 7, hosted by Anu Venkatesh with Peter Singer. DVIDS identifies the footage as public domain. The appearance of U.S. Department of War (DoW) visual information does not imply or constitute DoW endorsement.
Music: “Signal to Noise” by Scott Buckley, No Piano Melody mix, released under CC BY 4.0. Keep the music credit when sharing an edit that uses this track. The source download includes a credit file and the Inter Tight font licence.
1. Choose one message and a manageable length
Decide what the viewer should understand before asking for animation. A short clip can explain one comparison or demonstrate one action. Several claims, an introduction and a long closing message will compete for the same reading time.
For this project, the message is Singer’s comparison between AI’s knowledge and an intern’s lack of experience. The edit stays under 30 seconds and preserves his qualification that he is describing the system in human terms.
A starting brief can be short:
| Decision | Example brief |
|---|---|
| Viewer | Someone trying to understand the speaker’s AI-intern comparison |
| Message | Knowledge and practical experience are different |
| Format | Landscape podcast clip with animated type and image inserts |
| Length | Under 30 seconds |
| Audio | Retain the real speaker at the original speed |
| Visual material | Original footage, watchmaking image layers and selected words |
For your own project, replace the message and source material first. A release announcement might need three short phrases and a product image. A training video may need a diagram and a longer narration. Set the length after deciding what needs to be explained.
Here is a starting prompt for a similar clip when you have supplied the selected footage, dialogue and images:
View the starting animation prompt
Create a landscape animated podcast clip under 30 seconds from the supplied footage and transcript. The message is the speaker’s comparison between AI’s knowledge and an intern’s lack of experience. Preserve the complete meaning and any qualification that the speaker is describing AI in human terms. Keep the original voice at its original speed.
Use the supplied watchmaking images as separate background, object and foreground layers. Use Inter Tight, with paper-white text and selective mint emphasis on a dark background or in the footage’s empty space. Animate a few important phrases; keep type clear of faces and microphones. Use the supplied dialogue as the only speech track and mute duplicate speech in the footage.
First propose the scene order and show the opening, watchmaking composition and ending as still frames. After approval, add the motion, supplied music and a few sound cues on separate tracks. Keep the project available for revision. Do not request additional media or export until asked.
You can ask the agent to draft the script and scene plan. CoAnimator’s creation guide describes building scenes while you review the stage. The video-brief guide has more detail on preparing the initial request.
2. Turn the script into a storyboard
For recorded speech, select the passage before designing its text. Remove pauses and repeated clauses carefully. Keep the speaker’s qualifications and complete argument; a shorter cut should still mean the same thing.
Read the dialogue in the sample
Think of it as the equivalent of an intern. They know a lot. They also don’t know what they don’t know because they don’t have experience. And then the other is they really, really want to please you. I could be talking about a human intern, but I think that’s where we are with our AI right now. So it will spit out things that are hyper-intelligent. Wow, that is so off. I want you to tell me this is not possible. Be logical with me.
The example uses three kinds of picture: the real speaker, a layered watchmaking scene and a gear insert. Here is a condensed storyboard of the finished edit:
| Part of the clip | Picture and text | What to review |
|---|---|---|
| Opening, 0–4.7 seconds | Speaker close-ups introduce the intern comparison; “intern” becomes the large word | The text clears the face and microphone |
| 4.7–12.5 seconds | Watchmaking images alternate with the speaker; selected phrases include “a lot” and “experience” | Each word has time to be read; the image changes with the explanation |
| 12.5–22.3 seconds | Close-up and two-shot, with selective type and one text-behind-person composition | The speaker’s meaning and qualifications remain intact |
| 22.3–25.2 seconds | A large gear insert accompanies the discussion of error | The object and the text fit without competing for space |
| Final seconds | Return to the speaker and the closing phrase | The last line finishes before the picture ends |

Ask for this plan in writing before the agent builds every scene. You can change the order, remove an unnecessary insert or allow a longer reading hold without reworking the whole animation.
3. Prepare the footage, font and image layers
Install CoAnimator, complete the media setup and connect the agent you intend to use. The quickstart covers the welcome checklist, supported connections and first export. Agent accounts and media services have their own setup requirements.
CoAnimator offers a free forever plan. Connected AI accounts and services used to generate new images, voices or music have their own allowances or charges. The supplied project already contains the media used by this example.
For a new project, gather the approved script, images or recordings, font and any audio you can use. Give the files clear names and keep them with the project. For this lesson, the download already contains the assets used by the finished example.
The watchmaking scene uses three photographic planes:
| Layer | File in the sample | Purpose |
|---|---|---|
| Background | plate-blueprint.png | The workbench and technical drawing |
| Middle | layer-loose-parts.png | Transparent watch components placed above the drawing |
| Foreground | layer-loupe-tweezers.png | Transparent tools near the camera |
These files sit in assets/opus-v5/images/. A fourth image, gear-flaw.png, supplies the later insert. The original image prompts requested matching perspective and warm lighting, with space left for the typography.
If you need new images, generate the background first. Use it as a reference for the object and foreground requests so their camera angle and lighting match. Request a real transparent background for separate objects, and inspect their edges before animating them. Keep text as a text element in the project so you can change its wording and size.
For a simpler first animation, use one supplied photograph and live text. You can add more layers after the first composition is readable. A new image is useful when it explains the script; it is not required for every sentence.
4. Approve a complete frame before adding movement
Set the canvas and aspect ratio before composing. This example is landscape at 1920 × 1080. A portrait version needs its own layout: moving the same words into a narrower frame can change the line breaks, face clearance and image crop.
Choose a small set of type and colour rules. The sample uses Inter Tight, with paper white, dark ink and mint for the graphic elements. Photographs retain their natural colour. Larger words receive more emphasis; the smaller phrases supply context.

Review three frames first: the opening, the main image composition and the ending. Look at them at the size the audience will see. Check the most important word, the image crop and the space around faces or product labels.
Give the agent a correction it can apply: “Move the headline into the empty upper-right area, keep the gear fully visible and retain the current font size.” If the text only fits after shrinking it heavily, shorten the copy or change the composition.
5. Animate the type and image planes
Add motion after the frame works. Tell the agent when an element enters, how it moves, how long it remains readable and when it leaves. “Animate this word” leaves all four decisions open.
In the sample, the “experience” event starts at about 11.2 seconds and leaves with the cut at 12.5 seconds. The word stays in one reading position while the image planes move. Other phrases appear beside the real speaker rather than filling the screen with continuous captions.
A practical direction for a new phrase is:
Bring the phrase in with a short upward move and fade of about 0.2 seconds. Stop it in the approved reading position and hold it through the spoken phrase. Cut it away when the next shot begins. Keep the face, mouth and microphone clear throughout.
For layered images, specify which plane should move and how its focus differs. In the watch scene, the background, parts and foreground tools have separate position, scale and blur settings. That allows the parts to become the focus while the nearby tools remain softer.
Scrub forwards and backwards through the scene. A layer should return to the same intended position when you seek back. Watch both ends of an image move: a good-looking middle frame can still reveal a hard edge as the image leaves the canvas.
If you ask for text behind a person, inspect the person’s outline, moving hands and microphone. The sample uses that effect once. Use ordinary foreground text when the separation is distracting or the word would be difficult to read.

6. Mix the voice, music and effects separately
The sample’s Main timeline has separate tracks for the edited original dialogue, music and seven short effects. You can lower the music or move one cue without replacing the voice recording.
Keep the voice clear before adding other sound. Play the edit with music, then without it. If a phrase becomes harder to understand, lower the bed or reduce it during that line. Listen at normal volume rather than compensating with very loud playback.
Place effects on actual events, such as a cut, a movement of metal parts or the gear insert. Leave other moments quiet. If the sound announces an action before the image reaches it, move the cue or revise the cut.
For your own narration, settle the wording before generating or recording every line. A script change may require a new voice take, a longer reading hold and a shift to the next scene. Keep those changes together when directing the agent.
The sample includes a licensed, edited music excerpt. Check the terms for any replacement track and retain its required credit. A downloadable animation project does not supply rights to unrelated audio or footage you add later.
7. Revise one problem at a time
Play the complete sequence before writing feedback. Then identify the timestamp, the element and the change. CoAnimator’s footage-editing guide covers Copy frame, Copy timestamp and Annotation capture for giving the agent visual context.
| What you notice | A specific revision |
|---|---|
| A word is difficult to read | Extend its hold, simplify its entrance or shorten the phrase |
| The foreground blocks the subject | Move or reduce that layer while keeping the background fixed |
| A face or button is covered | Reposition the type and inspect the full motion, not only one frame |
| The cut feels slow | Remove a redundant hold or shot while preserving the spoken meaning |
| Music hides a sentence | Lower the music during that section and replay the transition |
Use this prompt to practise a bounded revision in a copy of the sample:
View the animation revision prompt
Read the CoAnimator project instructions and timeline guidance. Work on a copy of the supplied Main timeline. Keep the existing dialogue, total duration and image assets.
Revise only the watchmaking composition around 11.2–12.5 seconds. Keep “experience.” in the upper-right reading area. Reduce the foreground loupe and tweezers if they obscure the parts; preserve the matching camera perspective and warm light. Keep the text still after its entrance, and preserve the cut back to the speaker.
First show the frame at 12 seconds. After I approve the composition, play from 10 to 14 seconds and show a backwards seek to 12. Report any image edge, text overlap or audio mismatch you find. Do not change other scenes, request new media or use paid generation services. Do not export until asked.
The prompt names one section and preserves the rest of the edit. For a longer change, agree on the revised script and scene plan before asking the agent to rebuild multiple sections. The video update guide covers keeping later revisions in the original project.
8. Export the intended timeline and review the MP4
Open the timeline you want to deliver, then choose Export. Check the aspect ratio, resolution, frame rate, quality and duration range. Use a short section for the first review export, especially when the project includes small type or layered footage.
Keep the timeline’s intended frame rate unless you have a delivery requirement that calls for a different one. A higher frame-rate setting does not fix a slow cut or unreadable text. The export guide explains the output settings and partial ranges.
Watch the exported file outside the studio. Check that the voice finishes, the last frame stays long enough to read and the beginning does not contain an accidental pause. Replay the image inserts and text-behind-person shot at their final viewing size.
Save the source project alongside the approved movie. CoAnimator’s project guide explains portable packages and multiple timelines. The MP4 is the viewing copy; keep the animation and audio tracks for the next revision.
Questions about making animated videos with AI
Can I make one without podcast footage?
Yes. Start with a script and supplied images, illustrations or product captures. The same sequence applies: plan the scenes, review their compositions, add motion, then mix the audio. For a software walkthrough built around actual screens, use the product demo guide.
Do I need new AI-generated images for every scene?
No. Text, existing images and recorded footage can carry the animation. Generate a new image when the script needs something your assets cannot show. Reusing a suitable background and font also makes later changes easier to keep consistent.
Finish one short animation before expanding it
Start with one message and a scene plan you can review. Approve the opening, main composition and ending, then add the movement and sound that each section needs. Use timestamps and frame captures to direct revisions instead of changing the whole brief after every preview.
For a first exercise, open the source project above and revise the watchmaking scene. Keep the original beside your copy, compare the frames and play the surrounding cuts. Once the revision is readable and the audio still fits, export that version and retain its source files.
Download CoAnimator or browse the animation templates to choose a different starting project.