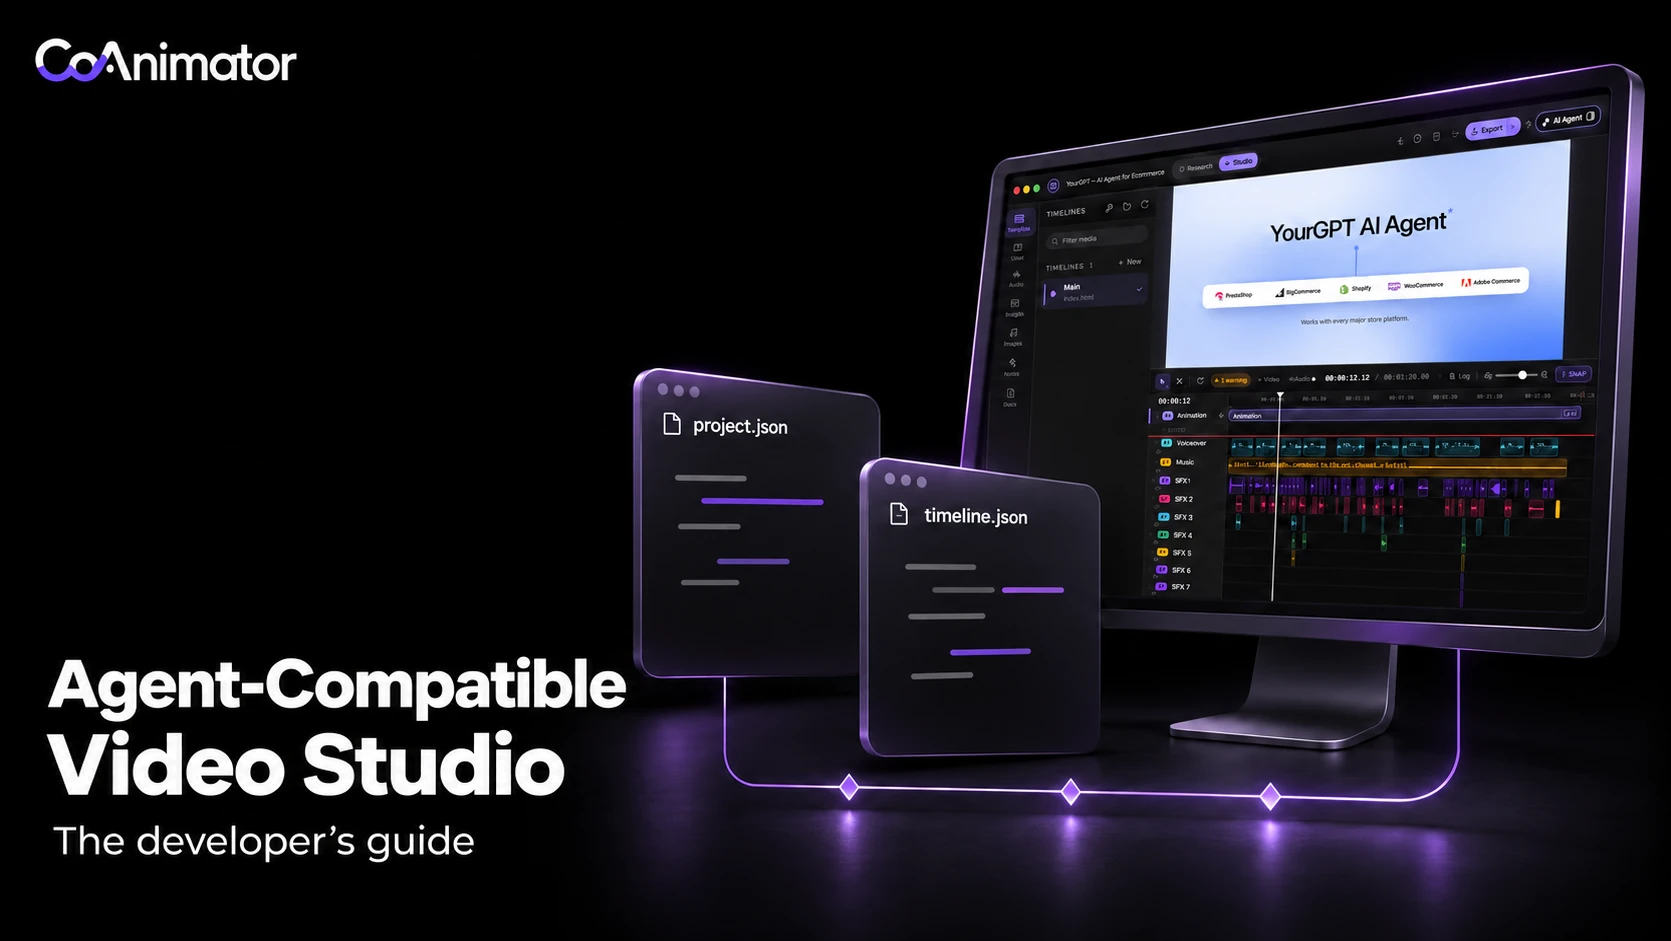
When a product screen changes, you need the video’s source project to update the corresponding scene. An agent can replace the image, adjust the callout and render a new cut while keeping the other scenes intact.
An agent-compatible video studio gives an AI agent access to the project’s source, a way to run the renderer and a result that a person can inspect. In CoAnimator, that means ordinary project files, a live stage and timeline, and the coa command-line tool. You can work with a supported agent inside the studio or let an external coding agent operate on the same folder.
This guide takes the developer’s route: choose a connection, understand the files, make animation seek reliably, export a named timeline and verify its delivery settings. A working seek playground and a downloadable MP4 checker accompany the examples.
What makes a video studio agent-compatible?
To revise a video, the agent needs access to its text, media, timing and audio. Those elements must remain available in the source project after the first export.
Consider a simple request: “The Import button moved. Replace that screenshot, keep the narration and give the new screen another second.” The agent needs access to several parts of the edit:
| Requested change | What the agent needs to modify | What you should review |
|---|---|---|
| Replace a product screen | The referenced image or recording and its scene placement | Correct interface state, crop and readable labels |
| Rewrite a headline | Live text and the composition that contains it | Line breaks, hierarchy and time to read |
| Extend one scene | Scene timing and any affected audio placement | The cut into the next scene and the end of the narration |
| Make a portrait cut | A separate composition and timeline using the same assets | Framing and typography at the new aspect ratio |
| Deliver a new MP4 | A renderer with explicit output settings and an exit status | File properties, playback and the actual story |
CoAnimator’s project format keeps the source available for that work. A label baked into a screen recording cannot be edited as if it were a text layer. Replace or re-record that source when the underlying interface changes.
For an explanation of models, agents, skills and rendering, see the agentic AI video stack.
Choose how the agent will reach the project
There are three useful routes. Choose the simplest one that fits how you already work.
Use an agent inside CoAnimator
The studio can place the conversation beside the stage, so an instruction and its visual result are easy to compare. Current connections include Claude and Codex, supported Chat accounts such as ChatGPT and Grok, and other documented agent routes. Their sign-in and billing arrangements differ; use the agent guide for the selected connection.
This suits a session where a developer and marketer are directing the same edit. The developer can inspect the source while the marketer judges the frame, pacing and message.
Let an external coding agent edit the folder
An agent in your terminal or coding environment can read the project, change its files and run coa. It does not need a native picker entry to work this way. The requirements are project access, the relevant CoAnimator guidance and a renderer available in the environment where commands run.
This is often the direct choice for teams keeping videos alongside product source. Open the folder in CoAnimator for visual review while the external agent works on it. Our Codex setup guide covers the account-specific installation steps.
Add a custom ACP connection when you need it
CoAnimator documents custom agents through Agent Client Protocol, or ACP. That route can put a compatible external agent into the picker through an agent-custom.json configuration in the app’s data folder.
Before using a custom agent, verify that it can authenticate, read and write the project files, and run coa. Use an external-folder session until those capabilities work through the ACP connection.
Install the command and the guidance separately
Install CoAnimator and prepare FFmpeg and FFprobe through its media setup. In Settings → General → Command line & agent skill, choose Install coa command, then open a new terminal.
On macOS or Linux:
coa --help
ffmpeg -version
ffprobe -version
In Windows PowerShell:
Get-Command coa.cmd
coa.cmd --help
ffmpeg -version
ffprobe -version
The packaged CLI includes its runtime; it does not require a separate Node.js or npm installation. An agent or its chat adapter may have additional requirements. The CLI reference covers the platform-specific launcher and media-tool configuration.
Next, use Install agent skill for the agent you intend to run. A skill supplies commands and project conventions. It does not install the renderer, sign in to an account or grant an agent access to your files. Start a new agent session after installation so it can load the guidance. Templates may supply additional instructions for their format; the skills documentation explains how managed and custom copies are maintained.
To create a first project, choose Start blank in the welcome flow or New to select a template. Supply the approved logo, product screenshots and script before asking the agent to build scenes. For a twenty-second release demo, show one changed interaction, its result and the next action. Review a frame with the headline and product image before adding the animation. The creation guide covers that studio sequence.
Keep the project understandable on disk
A motion-graphics project separates metadata, animation and track data. A practical layout for a release video looks like this:
release-demo/
├── project.json
├── index.html
├── timeline.json
├── timelines/
│   ├── main.json
│   └── portrait.json
├── assets/
│   ├── fonts/
│   ├── images/
│   └── audio/
└── production/
    ├── brief.md
    └── review-notes.md
project.json identifies the project, its dimensions, active animation and timelines. The animation file draws the scene. Timeline files place media and audio against the project clock. The production folder in this example is a team convention for the brief and review notes, rather than an application requirement.
In a schema-version-2 project, timelines/<id>.json is the per-timeline store. The root timeline.json mirrors the active timeline. When an agent edits a particular cut, point it at that cut’s file so there is no ambiguity about what should change. Read the installed docs/timeline.md before writing track data; its schema is more useful than asking the agent to guess field names.
Media paths should be project-relative whenever the media belongs to the project. assets/images/import-panel.png can move with the folder. A reference into one developer’s Downloads directory may work locally and disappear on a reviewer’s machine.

Save timeline edits safely
The animation’s intrinsic duration must match the timeline’s animationDuration. Total project duration must reach every clip’s end; it can be longer than the animation when, for example, an audio tail continues after it. Every clip must also fit within its source.
For example, a voice clip with startTime: 5, duration: 3 and trimIn: 1 needs at least four seconds of source audio and a project that reaches eight seconds. startTime is its timeline position; trimIn is where playback begins inside the source file.
Write JSON through a sibling temporary file ending in .tmp, then rename it into place. This prevents the studio’s file watcher from reading a half-written document. Preserve an existing revision counter instead of inventing a new one, and keep each media clip’s ID unique. These details matter when the app and an agent can both save changes.
Make every frame a function of time
The studio and exporter must be able to ask for a frame directly. A scene that looks correct only after playing from zero will fail when someone scrubs backwards or a render worker begins halfway through the timeline.
The core pattern is small:
const duration = 10;
const title = document.querySelector('#title');
const marker = document.querySelector('#marker');
const clamp = (n, min, max) => Math.max(min, Math.min(max, n));

function frameAt(t) {
  t = clamp(t, 0, duration);
  const p = clamp(t / 2, 0, 1);
  const eased = 1 - Math.pow(1 - p, 3);

  return {
    title: t < 3 ? 'A clearer first frame.'
      : t < 7 ? 'Revise one scene.' : 'Keep the source.',
    x: 6 + t * 6.5,
    scale: 0.8 + eased * 0.2,
    opacity: eased,
  };
}

function render(t) {
  const frame = frameAt(t);
  title.textContent = frame.title;
  title.style.opacity = String(frame.opacity);
  marker.style.left = `${frame.x}%`;
  marker.style.transform = `scale(${frame.scale})`;
}
The position is calculated from t, rather than added to the previous position. Calling render(4) after render(8) therefore returns the same intended state as calling it immediately after page load.
Try that sequence below. This is a small technical composition for inspecting seek behavior, not an example of a finished product film.
Open the seek playground in its own tab.
Connect the animation to the studio clock
CoAnimator motion-graphics animations expose window.__kcControl, including seek, seekAndPause, play, pause, getTime and getDuration. The player’s methods should drive the same render function used during preview. The full player contract, including hover preview and optional asynchronous renderFrame, is in the installed timeline reference.
Handle the ?t= parameter at startup as well. An export worker may open the animation at a later timestamp; it must boot paused on that frame rather than briefly paint the opening. Wait for required fonts, images and decoded footage before signalling that a frame is ready.
Avoid structural CSS transitions, unseeded randomness and accumulated animation state. Reset hidden scenes when they leave their time window. If audio is managed on the timeline, do not also play a second copy from the embedded HTML. For footage, the animation’s clock must select the source time, rather than letting a video element advance independently.
Deterministic scene state does not guarantee byte-identical encoded files across machines. Fonts, browser rendering, codecs and hardware can affect the result. Preserve the environment as well as the source when repeatability matters.
Give the agent a revision it can verify
A useful first task changes a bounded part of an existing project. This example assumes you have supplied the named screenshot and that the target scene occupies seconds three through seven:
Read this project’s instructions and the CoAnimator timeline reference. Replace the import-scene image with assets/images/import-panel-v2.png. Change its headline to “Bring your data with you.” Keep the narration, all other scenes and the total duration unchanged. Preserve the current version before editing. Show the scene at 3, 5 and 7 seconds, including a backwards seek from 7 to 5. Then report the files changed and any mismatch between the new headline and the spoken line. Do not generate or purchase new media.
Review the new headline alongside the retained narration. Resolve any contradiction before rendering the full film.
Keep persistent brand rules in the instruction file your agent reads, such as AGENTS.md or CLAUDE.md. Keep the current script and asset references with the project. “Use the approved logo” helps only when the agent can find which file is approved.

The YourGPT Agent API demo is a downloadable project you can use for this exercise. The Ledgerly business and its data are demonstration content.
Download the editable API demo project (.coa, 80 MB) · Watch the MP4 directly.
Open the .coa package in CoAnimator, save a copy and inspect its Main timeline. The animation, narration, music and sound cues remain separate project elements. Ask the agent to change one code panel and the matching explanation, then review the affected frames and surrounding cuts. Replace example endpoints, data and branding with approved material before using the project for another product.
Render an explicit timeline with explicit settings
Use a project folder when you want the target to be obvious. In this POSIX example, release-demo is a folder in the current working directory and main is its timeline ID:
coa render ./release-demo --timeline main \
  --resolution 1080p --fps 30 --quality high \
  --out ./release-review.mp4
To render only the scene under review:
coa render ./release-demo --timeline main \
  --start 3 --end 7 --resolution 1080p --fps 30 \
  --out ./import-scene-review.mp4
The end time is exclusive. That four-second range should contain 120 frames at 30fps. Resolution sets the short side while preserving aspect ratio; compression quality and frame rate are separate choices.
For Windows PowerShell, use the installed batch command and quote paths:
coa.cmd render "C:\Videos\release-demo" --timeline main --resolution 1080p --fps 30 --quality high --out "C:\Videos\release-review.mp4"The CLI can also take a project ID or a .coa file. Keep workers on Auto initially; increasing parallelism also increases memory demand and may not improve a particular scene. Use the export guide when choosing range, quality or engine settings.
CoAnimator offers a free forever plan. Choose export settings supported by your licence; the commands here use a 1080p delivery specification. AI-agent and media-provider usage are separate costs.
Validate the file, then review the video
The CLI validates its output before replacing the destination and returns a failure status when an export fails. Do not use the existence of an MP4 as your success signal: a previous good file can remain after a failed run.
For an additional delivery check, use the downloadable export checker. It uses Python’s standard library and FFprobe to inspect dimensions, frame rate, decoded frame count, duration and the presence of a required audio stream. For a twenty-second, 16:9, 30fps review export:
python3 verify_export.py release-review.mp4 \
  --width 1920 --height 1080 --fps 30 \
  --duration 20 --require-audio
It prints a JSON report and exits with code 1 when the specification does not match. On Windows, use your installed Python launcher, for example py -3 verify_export.py, followed by the same arguments. Omit --require-audio for an intentionally silent film. The checker does not render, change or upload the input.
After the checker passes, watch the complete MP4. Listen for clipped dialogue or abrupt audio cuts, and inspect the smallest text, scene transitions and closing frame at the intended viewing size.
Automate the render after the edit is stable
Use a reviewed source project for automated renders. Keep the last approved export so a failed or unexpected result can be compared with it.
Use a unique output name for each run and stop on a failed command. This POSIX shell example expects the sample project, the checker and FFprobe to be available:
set -eu
mkdir -p renders
render_id="$(date -u +%Y%m%dT%H%M%SZ)-$$"
output="renders/release-${render_id}.mp4"

coa render ./release-demo --timeline main \
  --resolution 1080p --fps 30 --quality high --out "$output"

python3 verify_export.py "$output" \
  --width 1920 --height 1080 --fps 30 \
  --duration 20 --require-audio
On a headless Linux runner, Electron still needs a display server. The documented pattern is xvfb-run -a coa render ..., with CoAnimator, media tools, fonts and project assets installed on that runner. A desktop sign-in or local file on your laptop is not automatically available to a remote job. This is a self-managed render environment; it is not a hosted CoAnimator rendering API.
Record the application version, operating system, fonts, selected timeline and export arguments with the artifact. Keep model and provider details with any newly generated source assets so you can trace a later difference to the source or render environment.
Hand off a project another person can reopen
Keep the animation, timeline, approved script, required media and font files together. Use Git for text history, and choose Git LFS or an asset store for large media according to your team’s existing practice. Rendered MP4s are review artifacts; they do not replace the source.
For a portable package:
coa pack ./release-demo --out ./release-demo.coa
coa unpack ./release-demo.coa --out ./release-demo-review
Unpack into an empty destination. For an archival reproduction, rendering a freshly unpacked folder avoids accidentally using unsaved edits from an already bound working copy. The project documentation explains the distinction between sharing a package and saving edits back into a package-backed project.
Ask the reviewer to open the project, seek to the changed scene and play the exported movie. Keep approval attached to that revision. If the product changes again, the update-and-re-render guide covers the next edit rather than another full production cycle.
Developer questions
Is MCP required to connect my agent?
No. An agent with project-file access and command execution can use the folder-and-CLI route. MCP can connect additional services, but it is not a prerequisite for editing the composition or invoking the renderer.
Does local rendering mean the whole process stays offline?
No. Rendering runs on your machine, while an AI request or connected media service may send selected inputs to its provider. Decide which files the agent needs and which services the project is allowed to use. Keep account credentials in the appropriate app or agent configuration, not in the project package.
Should I choose CoAnimator or a React video framework?
Use CoAnimator when the goal is a finished video that a person directs and reviews in a desktop studio. A framework such as Remotion fits a team building its own React-based video application and composition system. The important decision is how much of the production interface and pipeline you want to maintain yourself.
Make the next revision predictable
Start with one interface update in an existing project. Keep the previous cut, name the source file to replace and review the changed scene in the studio. Render that section before exporting the full timeline.
Once the revised scene renders correctly and a colleague can reopen the project, automate the same render command. Continue reviewing changes to product claims, screen readability, timing and sound before approving a new export.
Keep the approved script, project and required assets together. The next interface update can then begin with a specific scene and file, instead of reconstructing the previous video.
Download CoAnimator or use the developer overview to choose your starting route.