Talking head tutorials, with your face in frame.
The course and walkthrough layout: your screen recording plays full-bleed while the Guide talks it through from a corner in a rounded square, circle bubble, or background-removed cutout, with a title card and closing beat built in.
what you get
Three Guide styles, one animation
Put yourself on screen over anything: a screen recording, slides, gameplay, a product demo, or footage you shot. One clip of you talking becomes a floating Guide in three interchangeable looks, and switching between them is a single ask to your agent.
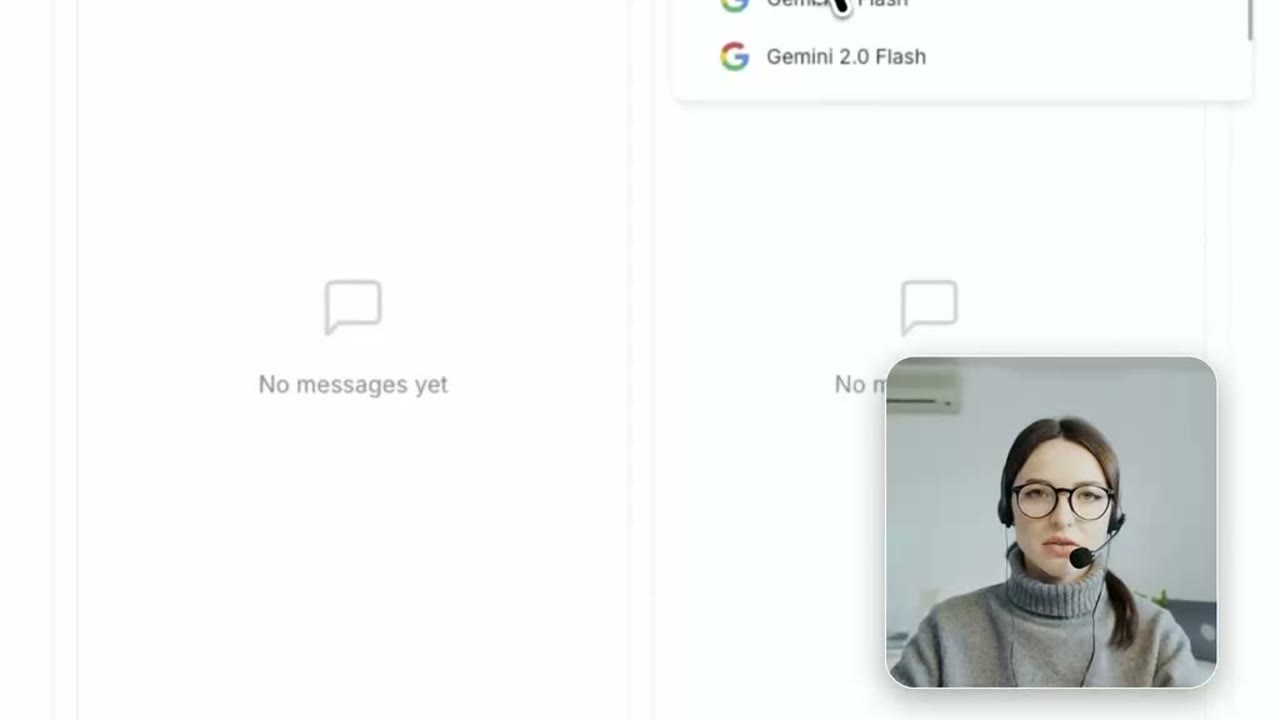
Square
A rounded-square facecam in the corner, the look viewers know from tutorials, courses and walkthroughs. Your take is auto-cropped square, headroom preserved.
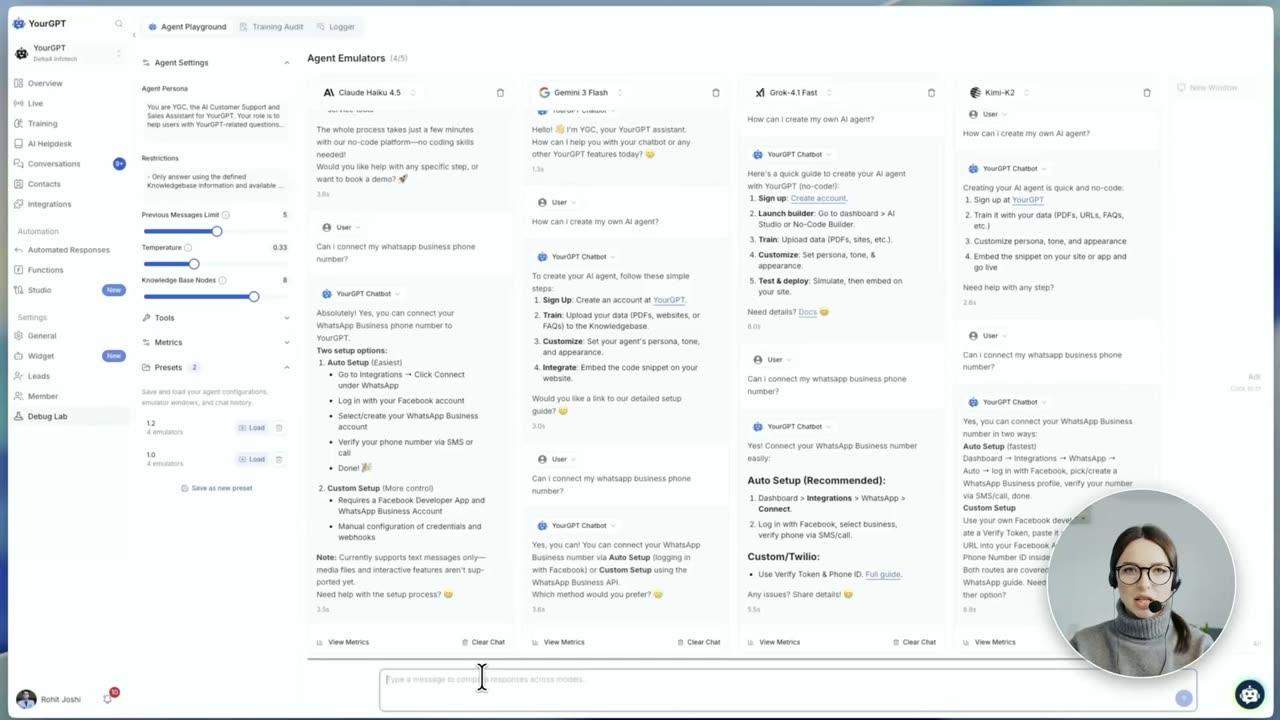
Bubble
A round bubble floating over your content, the screen-share, reaction and commentary look. Same footage, different frame; swap anytime.
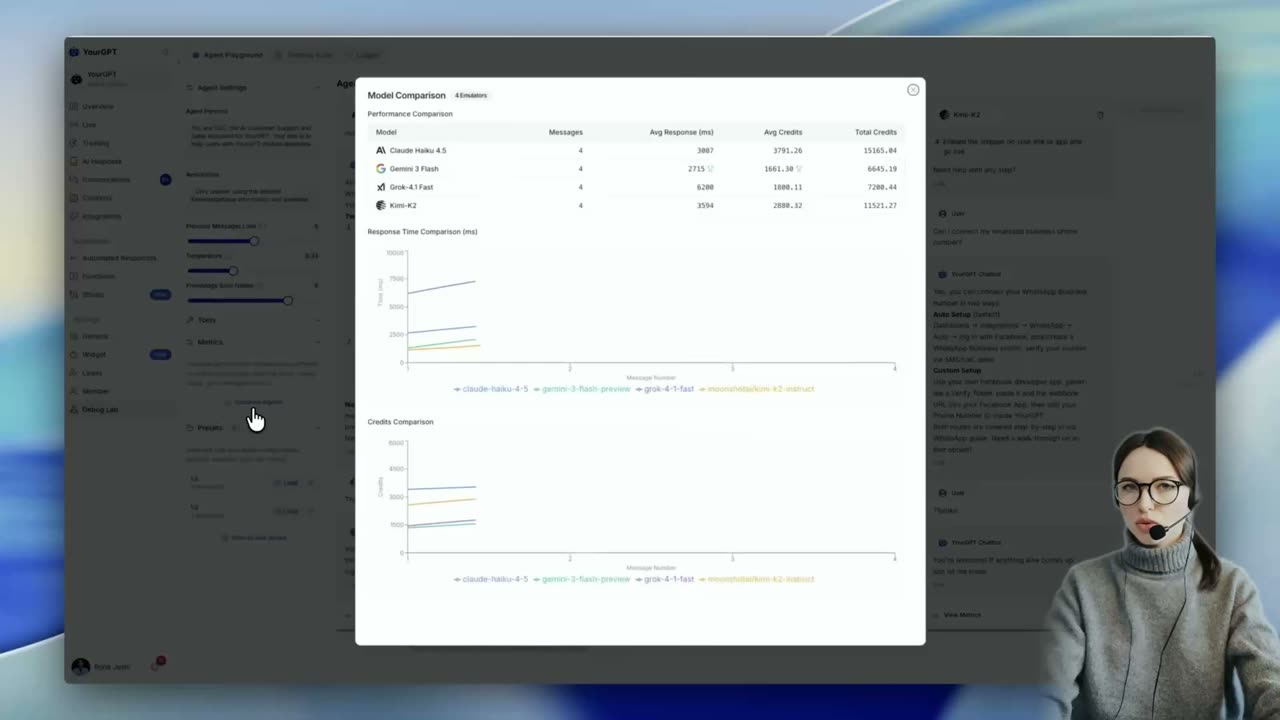
Cutout
You with the background removed, standing right on the content. It is the modern presenter look for launches, promos and talks. Real video matting is produced locally, not with a CSS trick.
how it works
From recording to tutorial in three asks
1 · Drop your screen recording
Any screen capture works. It plays full-bleed as the content, and its sound lands on the timeline where the mix belongs.
2 · Add your Guide
Give your agent the webcam take. It becomes the Guide in the corner: square, bubble, or cutout, bottom-right by default, and any corner by asking.
3 · Export
The intro card and closing card re-anchor to your length automatically. Render an MP4 on your own machine with no credits and no watermark.
use it for
Where this format wins
Course lessons
The format students expect: the lesson on screen, the teacher present. Batch a series by swapping the recording and narration per lesson.
Product walkthroughs
Show the real product while a person carries the story. The presence of a face measurably holds attention through setup steps.
Onboarding & support
Answer the questions your team repeats with one screen recording and a face, sent as a link. Update the video when the UI changes by re-recording only the screen.
Talking head tutorial FAQ
What is a talking head tutorial video?
A talking head tutorial is a screen recording with the presenter’s face visible while they explain it. It is the format most courses, walkthroughs and screencasts use. The face usually sits in a corner over the screen content. This template ships that layout finished: your recording plays full-bleed, the Guide talks it through from the corner, and an intro and closing card frame the video.
How do I add a facecam to a screen recording?
Drop both files into the project and ask your agent. The screen recording becomes the full-frame content, its audio lands on the timeline, and your webcam take becomes the Guide in the corner, square-cropped automatically for the boxed styles. There’s no manual masking or keyframing; describing the result is the workflow.
Can I remove my background so only I show over the screen?
Yes. That’s the cutout style. It uses real video matting produced locally by the studio’s effects tooling, not a green screen or a CSS trick, so an ordinary webcam take works. When matting isn’t available on your machine, the square and bubble styles are the designed fallback: the same footage, boxed instead of cut out.
What is a screen recording with face overlay good for?
Anything where a person needs to carry the explanation: course lessons, product walkthroughs, onboarding videos, support answers, code reviews. Viewers hold attention longer when a face is present, and the corner placement keeps the actual content readable. The three styles let the same footage read as a course (square), a call (bubble), or a stage presence (cutout).
Can I move the facecam to a different corner?
Yes. Bottom-right is the default because it covers the least UI in most recordings, and any corner is one ask away. The cutout style supports the bottom corners, since a silhouette hanging from the top edge reads wrong; the boxed styles go in any of the four.
Can it add captions to my tutorial automatically?
Yes. Ask your agent for captions and it transcribes your voiceover, times each line to the audio, and places them on the video. Position, size and style are also one ask away, and the same goes for other edits: retimes, corner changes, and a music bed. Describing what you want is the workflow.
My tutorial is longer than 20 seconds. Does the template fit?
Yes. The starter opens as a 20-second showcase so you can judge the three styles immediately, and retiming to your recording’s real length is one ask. The intro card, the Guide, and the closing card re-anchor themselves. There’s no upper limit from the template; renders run on your own machine.
more templates
More than a talking head tutorial template
CoAnimator is a full agent-driven video studio with timelines, voiceover, effects and rendering, all on your machine. Your agent does the editing: ask for captions and they arrive transcribed from your voiceover and timed to it; ask for a retime, a style switch, or a music bed and it just happens. Every template is a working project to start from:
 Product Demo Video
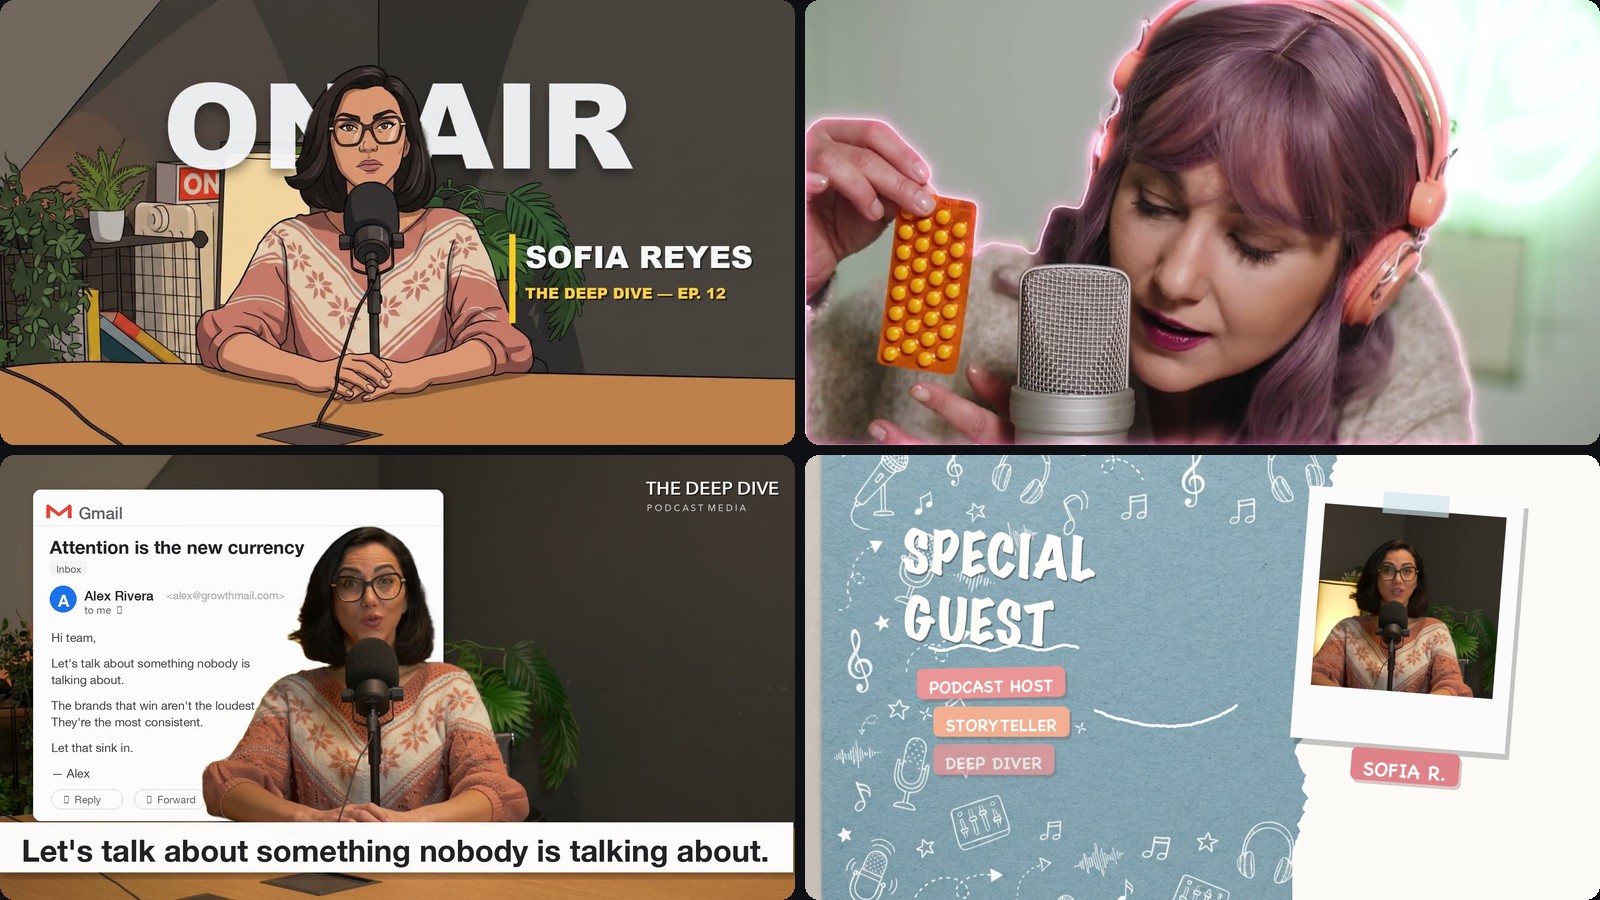 Podcast Video Effects
 Map Animation