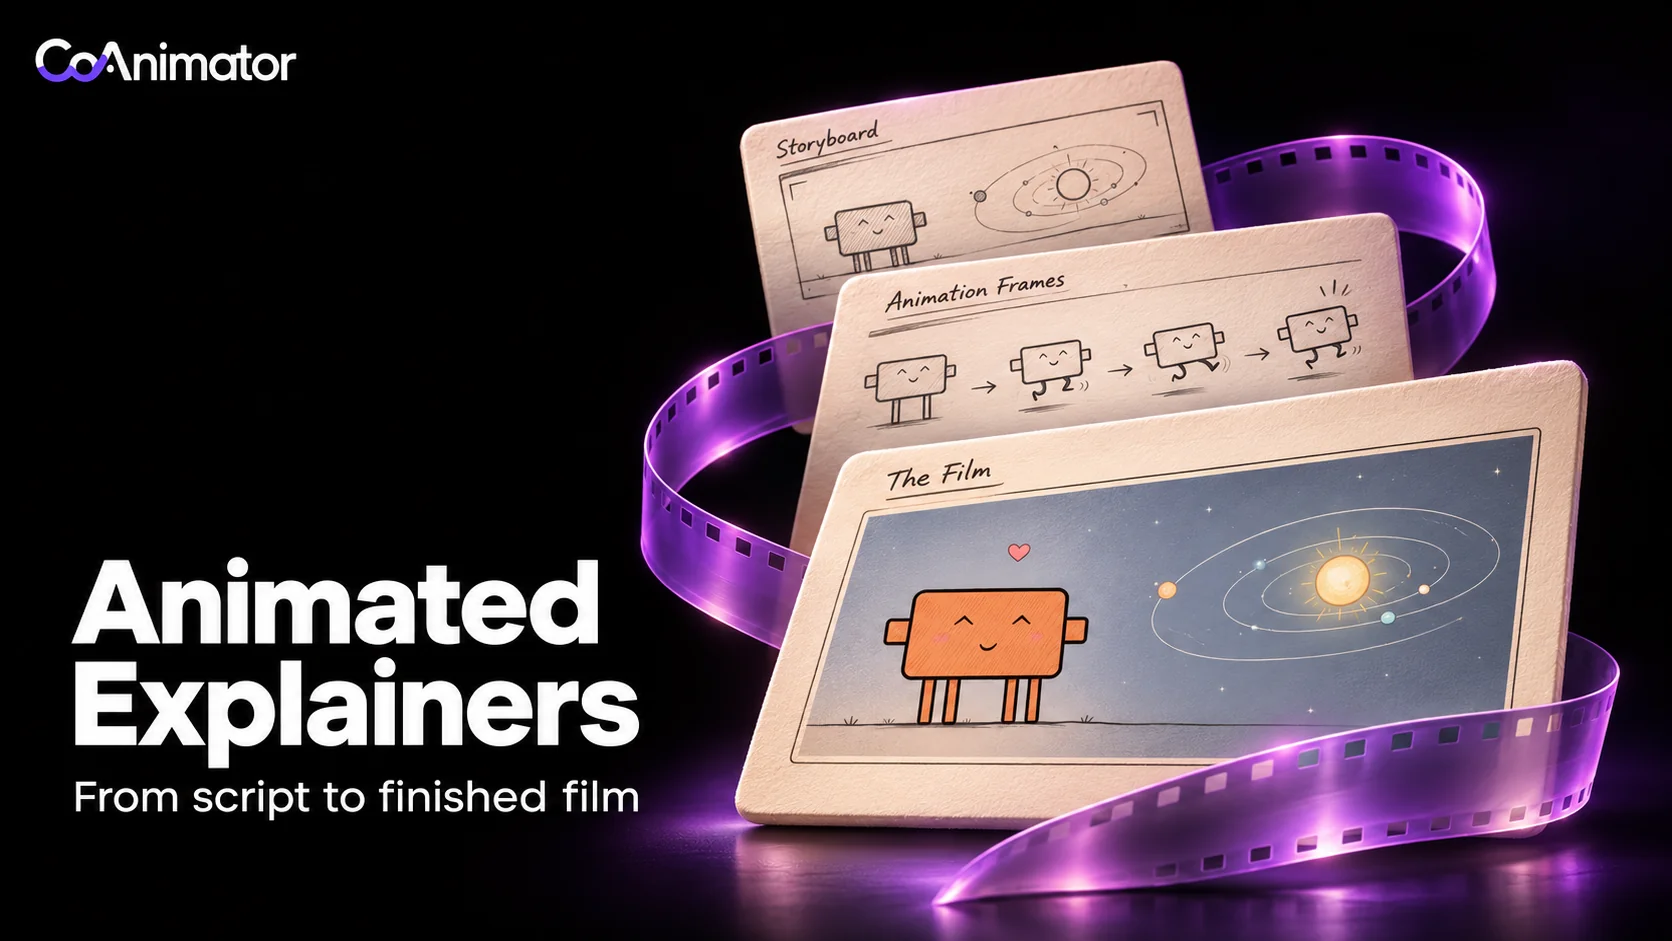
An animated explainer video uses moving images, text and sound to make one idea easier to understand. It can explain a product, a process or a concept. The defining job is to answer the viewer’s question: what happens, how does it work, and why does that matter?
To create one, choose the question first, write the explanation, give each scene a specific visual job, then build and review the sequence. AI can help write scenes, animate them and assemble sound. You still need to decide what the audience should learn and whether the picture actually explains it.
Below is a complete product explainer from CoAnimator’s template library. We will break down its script, scene order and source project, then use that structure to plan an explainer you can revise for your own product.
Watch a finished animated explainer
The CoAnimator Sticker Film template explains a video-making process in 38.1 seconds. It starts in a cardboard desk scene, moves into an animated editor, shows the kinds of videos you can make, and finishes with audio, connected tools, export and sharing.
Open the template and download the editable .coa project · Watch the MP4 directly.
Notice what changes as the film progresses. The opening creates a setting. The editor scenes show the work taking shape. The examples establish the output. Later scenes show how sound and delivery fit into the process. Each part answers a different question; the film does more than animate a list of benefits.
The sample uses music and effects rather than spoken narration. Its headings carry the explanation. That is a useful option for a homepage or a post where people may watch silently, provided the wording stays readable at the size where the video appears.
Decide what the explainer must explain
Start with a sentence you want a newcomer to be able to say after watching. For this example: “I can describe a video, build and revise its scenes with an agent, then finish and export it in the studio.”
That gives the film an order. The viewer needs to understand the initial request before the editing scene makes sense. They need to see a result before the export scene matters. A detailed account of every setting would interrupt that explanation.
Write down four decisions before asking for animation:
- Viewer: who is watching, and what do they already know?
- Question: what specific thing is unclear to them?
- Explanation: which actions or relationships make it clear?
- Next step: what should they do after understanding it?
For a support product, the question might be how a conversation reaches a person when automation cannot finish the request. Show the customer’s question, the missing information, the handoff and the context the person receives. A swirling network of agent icons would leave the important part unexplained.
Explainer, demo, tutorial or ad?
These formats can share footage, but they ask for different scripts.
| Format | Main question | What the video needs to show |
|---|---|---|
| Animated explainer | How does this idea or process work? | A clear sequence, relationship or mechanism |
| Product demo | Can this product do the task I need? | The actual action and its result |
| Tutorial | How do I do this myself? | The controls, prerequisites and steps in enough detail to follow |
| Ad | Why should I act on this offer? | A focused proposition and a relevant reason to respond |
The Sticker Film is a product explainer with promotional elements. Its drawn editor is an explanatory composition, not a click-by-click recording of the app. If the viewer needs exact instructions, use real screens and the product demo production guide for that more detailed treatment.
Write the explanation before adding motion
An explainer script can be spoken, shown on screen or split between the two. Decide which carries the essential meaning. If the narration tells the story, the picture can illustrate the mechanism without repeating every sentence. If there is no narration, the text and images have to provide enough information on their own.
Write the process in plain language first. Then remove statements that do not change what the viewer understands. “A powerful, next-generation creative experience” gives an animator very little to show. “Replace the screenshot while keeping the camera move” names a visible action.
For a short product explainer, a useful draft has four parts:
- Establish the job or situation.
- Show the action that changes it.
- Show the result, including an important condition if there is one.
- Give one sensible next step.
The order can vary. The sample opens with a scene instead of a narrated problem. An educational explainer might start with a question and finish with the answer rather than a product invitation. Use the structure that makes your subject understandable.
A spoken draft for the sample’s structure
The storyboard below includes a spoken draft for adapting the template. The embedded film itself uses music and effects. Use the draft to plan what the voice adds, rather than reading every visible headline aloud.
Read it aloud before fixing the duration. Leave room to see an action finish and to read any important label. If the recording is too long, cut a secondary idea before asking the narrator to rush.
For a product claim, keep the condition in the same scene. If a service requires a connected provider, do not imply that the result appears without setup. CoAnimator’s plugin documentation explains the account, key and dependency requirements for voice, generation and publishing tools. Agent and provider usage can have separate charges.
Turn the script into a timed storyboard
A storyboard connects an explanation to a picture. Add a time range, the words, the visual action and what the viewer should understand. A rough sketch is enough to decide whether the scene works; polished illustration can come later.
Here is the finished Sticker Film’s scene order, paired with a narration draft for a new version. The time ranges describe the sample. Record the draft, then adjust the scene holds to your actual delivery.
| Time in the sample | What appears | Narration draft for an adaptation |
|---|---|---|
| 0–6.6 s | A person at a cardboard desk, then the wordmark | Start with the idea you want people to understand. |
| 6.6–8.7 s | A short instruction surrounded by media stickers | Describe the video. |
| 8.7–16.7 s | An animated editor builds a scene, then adds motion | Build the scene, then add motion that makes the explanation easier to follow. |
| 16.9–23.6 s | A collage of finished video examples | Choose the kind of video that fits the message. |
| 23.7–30.7 s | Templates, language chips, audio and plugin graphics | Start from a template. Add the voice, music and tools your project needs. |
| 31–38.1 s | Export and sharing compositions, then the closing mark | Review the sequence, export the film and share it with your audience. |

For your own storyboard, replace the draft with approved narration or screen copy. Put the actual wording there, not “say something about efficiency.” Add the source asset beside it: a current product capture, an illustration, a diagram or a recorded action.
A storyboard exposes missing reasoning early. If your script says the system passes context to a person, but the picture only shows two avatars, the audience cannot see what was passed. Show the summary, order details or previous message that makes the handoff useful. Remove private information and use clearly fictional demo data when appropriate.
Make motion explain a relationship
Keep a recognizable object through a change when continuity matters. A request can become a task on a timeline. A selected record can move into a report. The viewer should be able to follow which item changed and what happened to it.
Use a cut when you are changing topic. Use a reveal when new information becomes available. Move the camera only when it helps the viewer find a detail or understand the scene. Decorative movement becomes a problem when it competes with the action you are explaining.
The sample’s paper texture, sticker edges and warm opening give it a consistent visual character. Those details support the film because the headings and actions still lead. Match that consistency in your own work: one type system, a restrained palette and a repeatable treatment for images and labels.
Build the scenes in CoAnimator
Download CoAnimator, then download the Sticker Film’s .coa file from its template page. Open it by double-clicking the package or choosing Open .coa in the launcher. Keep the original and work in a copy for your adaptation.
The package contains one timeline, the animation source, fonts, image assets, music and sound effects. Its source timeline is 38.1 seconds at 60fps. The music is on its own track, with three additional effects tracks, so changes to the mix do not require replacing the visual animation.
CoAnimator’s project format keeps the animation, timeline and media together. Retain those source files as well as the MP4. The project is what lets you replace a screen or correct a sentence later.
Give the agent a complete brief
Supply the approved explanation, scene plan and actual media. Include your wordmark, colors and font files if you have them. Product screens should come from the real product; generated art is useful for a setting or an illustration, not for establishing what a control does.
This prompt is for adapting the template to a new explainer. Replace its opening brief with your specific audience, question and approved script before sending it.
Copy the explainer production prompt
Work in a copy of the CoAnimator Sticker Film template. Use the audience, question, approved script, storyboard and brand files I supplied. Keep the paper texture, sticker treatment and restrained typography, while adapting the scenes to explain my subject.
First show me a scene plan with time ranges, exact narration or screen copy, the image or action in each scene, and the asset it uses. Flag a missing source or unsupported claim before building it. Do not invent product screens, customer results, numbers or provider capabilities.
Keep the explanation to one complete idea. Build one representative scene first so I can review its type, image treatment, motion and reading time. After that review, build the remaining scenes with the same visual rules.
If narration is supplied, preserve the approved words and time the scenes to the actual recording. Keep music and effects separate, with speech clearly audible. If there is no narration, make the essential meaning readable in the picture and screen text.
Prepare the 16:9 master first. Make a portrait cut only after the master is reviewed, recomposing labels and images for that frame. Ask before using paid generation or adding a new service. Let me review the whole sequence before exporting. Deliver the MP4 and the editable project with its required assets.
You can ask the agent to draft the plan too. CoAnimator’s creation process supports reviewing a script and redirecting scenes as they are built. A written plan is useful when several people need to approve the message before production begins.
CoAnimator has a free forever plan, and the template is free to download. Connected agents and optional media services have their own setup and usage requirements. Using the media already in the project can help you evaluate the style before commissioning new assets.
Approve one representative scene first
Choose a scene with the hardest part of the explanation: a state change, a diagram or an important screen. Look at it at the actual viewing size. Can you read the label? Does the action make sense before it disappears? Does the design still fit your product?
Correct those decisions before applying the treatment to the whole film. “Hold the result for another second” is actionable. “Make it more premium” needs a concrete direction, such as fewer competing elements, a clearer type hierarchy or a better source image.

Add voice, music and captions with a clear hierarchy
If you use narration, place the approved recording before refining every animation. Align a reveal to the relevant phrase, then leave enough time for the viewer to see the result. A scratch recording is useful during planning, but replace it and adjust the timing before delivery.
Use music to support the pace. It should not obscure a sentence or distract during a quiet explanation. Sound effects work best when they belong to an event: a card landing, a selection appearing or a scene changing. If every object makes the same loud whoosh, the sound stops telling the viewer anything useful.
The sample’s project separates the music from its effects. That allows a practical revision such as reducing texture sounds while preserving the main transition accents. Listen on ordinary speakers as well as headphones; a mix that works only on your editing setup can hide a problem.
Captions carry the spoken information for viewers who cannot hear it. They also need relevant non-speech information when it is necessary to understand the content. W3C’s caption guidance explains that role and why automatic captions need review.
Large decorative words are not a replacement for captions if they omit essential speech. Review names, numbers, technical terms and timing against the final recording. Keep captions clear of product labels and important actions. A music-only film whose meaning is already in the picture has different caption needs from a narrated lesson.
Review the explanation, then the exported video
Watch the complete cut without pausing. Ask someone unfamiliar with the subject to tell you what happened. If they can name the product but cannot explain its central action, the film still needs work.
Review specific failure points rather than asking whether everybody likes the style:
| Problem | What to change |
|---|---|
| The main action is unclear | Add the missing step or replace the decorative scene with the actual mechanism |
| A headline disappears before it can be read | Shorten it or extend its hold; do not merely shrink the font |
| The explanation depends on tiny UI text | Isolate the relevant area, enlarge it and preserve enough context to orient the viewer |
| Narration and picture describe different moments | Re-time the reveal to the actual line, or rewrite the line to match the visible action |
| A portrait version cuts off the result | Recompose that scene for portrait instead of cropping the entire wide film |
| An update leaves conflicting wording | Review the narration, title, caption, screen and ending together |
When the sequence is ready, export the MP4 using the appropriate settings for the intended destination and your licence. Render the full timeline for the master. A short section is useful for inspecting a revised shot, but it does not verify the ending or the mix across the film.
Open the exported file in a player. Inspect the opening, a transition, the most detailed scene and the final frame. Listen for clipped words, abrupt music cuts and effects that overpower the explanation. Then watch it in the page or player where people will actually see it.
Keep the approved script, project and media with the delivery file. If your product changes, the guide to updating product videos explains how to approach a targeted revision rather than rebuilding every scene.
Questions before making your first explainer
How long should an animated explainer video be?
Long enough to answer the selected question with readable scenes. For a first draft, a 30–60-second brief is a manageable constraint, not a universal optimum. The sample takes 38.1 seconds; a complicated mechanism may need more time or a narrower question. Read and time your actual script before promising a final runtime.
Do I need characters or a voiceover?
No. A process can be explained through text, diagrams, real screens and motion. Use a character when their actions help tell the story. Use narration when the spoken explanation adds useful context. Do not add either simply because many explainers use them.
Can I use the same explainer for a homepage and social media?
You can reuse the source, but make a deliberate version for each placement. A homepage viewer has surrounding product context; a social viewer may arrive without it. Adjust the opening and next action, then recompose for the intended aspect ratio. Review both the words and the picture after the change.
Finish with an explanation worth watching
The important decision comes before animation: choose what the viewer should understand. Give the script enough detail to explain it, and give each scene a visible action that supports that explanation. Texture, typography and sound can make the film distinctive once those decisions are clear.
Start with the Papercut Sticker Film project if its treatment suits your subject. Replace the message and source material, approve one demanding scene, then build the complete sequence. If you need a quieter diagram, a drawn lesson or a different visual language, choose another explainer template before investing in a style that does not fit.
The finished deliverable is a video the audience can follow and a project your team can revise. Watch the export, correct the details and keep the source. That gives the next product update a useful starting point.